کالیبراسیون میکروسکوپ
Method - How to use it:
-
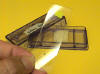 After
placing the special eyepiece, it is necessary to calibrate the
microscope. To do this, a calibration slide must be used.
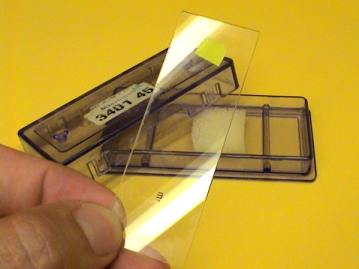
This is a glass slide with one one-hundredth of a millimeter,
0.01mm, engraved on to its top
surface (see photo to the right). Use care when handling this
little piece of glass - it costs a lot of money to replace!
Since a hundredth of a millimeter is very small and difficult to see, a circle is
drawn around it. This slide allows us to find out how big
things are as we look at them through the microscope at different
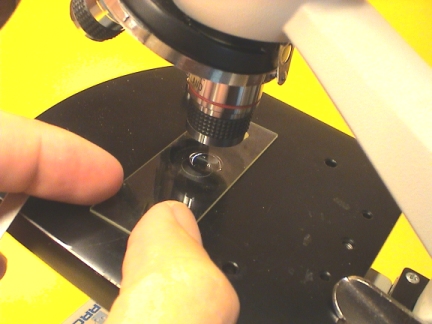
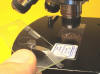
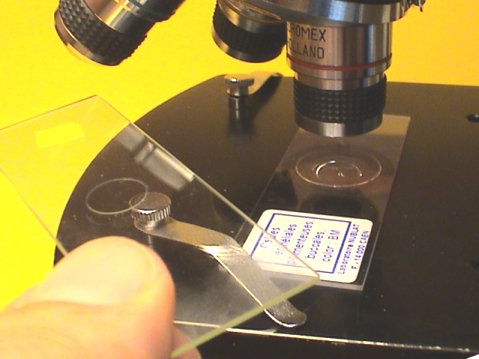
powers of magnification. Put the slide on the stage as shown
in the photo. Be sure that the top of the slide (the surface
with the microscopic lines engraved on it) is pointing up.
After
placing the special eyepiece, it is necessary to calibrate the
microscope. To do this, a calibration slide must be used.
This is a glass slide with one one-hundredth of a millimeter,
0.01mm, engraved on to its top
surface (see photo to the right). Use care when handling this
little piece of glass - it costs a lot of money to replace!
Since a hundredth of a millimeter is very small and difficult to see, a circle is
drawn around it. This slide allows us to find out how big
things are as we look at them through the microscope at different
powers of magnification. Put the slide on the stage as shown
in the photo. Be sure that the top of the slide (the surface
with the microscopic lines engraved on it) is pointing up.
-
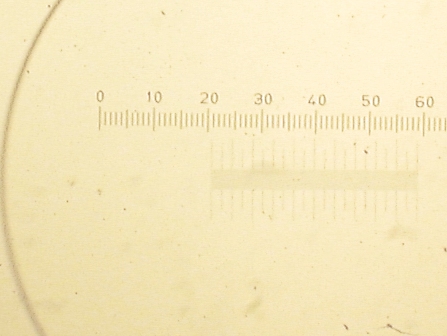
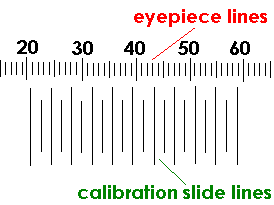
Set the microscope to low power and focus on the lines engraved on the surface of the calibration slide. You should see the following:
-
The number of lines must be counted. As shown in the figure above, the eyepiece lines have numbers on them whereas the calibration slide's lines do not. The total number of eyepiece lines (which will be called X) are from line 21 to 59. That's a total of 38 lines. The number of calibration slide lines (which will be called Y) show a total of 10 lines (note that the little lines mark off half spaces and that the first line is not counted because is shows the zero mark).
-
Calculate how much each line of the eyepiece measures. In other words find out what distance is shown between each line of the eyepiece. To do so, use this equation:

If we plug in the numbers from the example in step 3, we get 10/38 x 10µm = 2.63 µm. That means that as you are looking through the microscope at low power, the space between each line on the micrometer eyepiece measures 2.63µm. Try it on the cell to the right. The cell goes from line 22 to line 29 on the eyepiece so it measures about 7 lines across.
If a cell is 7 lines wide when observed on low power, that means that in reality, it measures 7 x 2.63µm = 18.4µm. Since we know that cells are supposed to be between 10 and 30µm, it makes sense that the human cheek cell in the photo above measures just over 18µm.
-
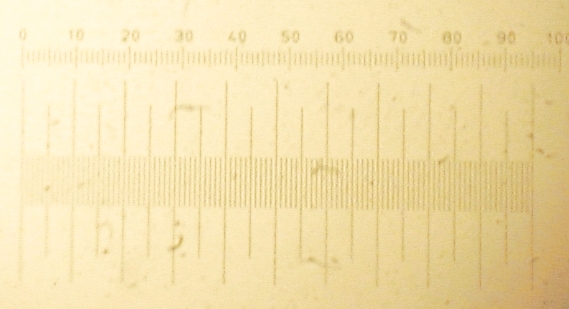
After calibrating for low power observations, medium power should be calibrated. Switch to the medium power objective lens and focus once again on the lines etched into the top of the calibration slide. Use the same technique as steps 3 and 4 counting the lines and calculating the measurement between two lines on the eyepiece. Try with this example (click to see what is viewed in the microscope):
-
Do the same for high power. Here is what the calibration slide looks like:
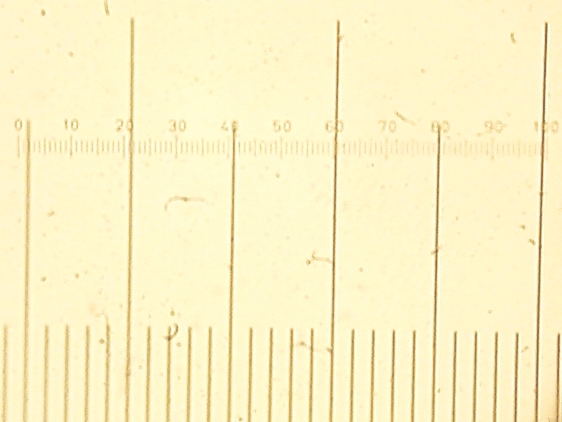
If you follow the same steps, you should get a value of 0.26µm for the space between the lines on the eyepiece. Question: How many lines would an 18µm-wide cell take up on the eyepiece as you look at it through high power? If you work it out, you should get about 70 lines.
-
 Now
it is possible to use the microscope to observe and measure things.
Take the calibration slide out and carefully put it back in its
protective box so that it does not get damaged. Now place the
slide of what you would like to look at on the stage.
Now
it is possible to use the microscope to observe and measure things.
Take the calibration slide out and carefully put it back in its
protective box so that it does not get damaged. Now place the
slide of what you would like to look at on the stage.
Note that if you change microscopes, the calibration process must be done again for each of the objective lenses that you are using. Why? Because the magnification is different on different microscopes. To save time, only calibrate the eyepiece for the objective lenses that you will be using.
 کارشناسی ارشد انگل شناسی